Why it matters
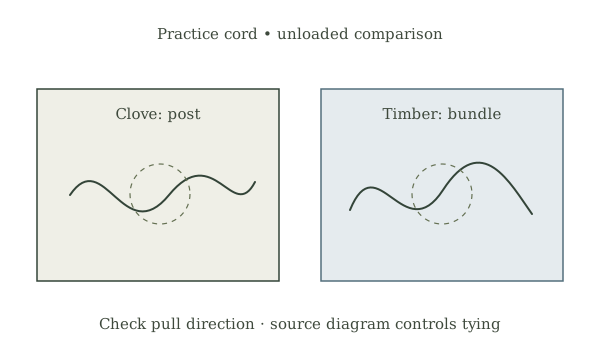
A hitch takes its behavior from the object, load direction and tension. The clove hitch can shift or slip when used alone; timber hitch turns hold only in an appropriate direction.
What you’ll need
Tools
- Two colors of practice cord
- Illustrated source for the named knots
Materials
- Smooth post or small scrap dowels when needed
Before you begin
Safety & limits
- A clove hitch is not a stand-alone secure anchor for critical loads.
- Never practice a timber hitch with a suspended log, chainsaw operation or a person attached.
Work carefully, in order
The method
- 01
Prepare
Choose a smooth low post and an unloaded bundle in a controlled practice area. Use only an unloaded sample and pause to match the cord path to the linked illustrated source before moving to the next stage.
- 02
Form
Tie the clove hitch around the post using two successive turns shown in the source. Use only an unloaded sample and pause to match the cord path to the linked illustrated source before moving to the next stage.
- 03
Compare
Trace where the working end exits and gently change pull direction to observe movement. Use only an unloaded sample and pause to match the cord path to the linked illustrated source before moving to the next stage.
- 04
Inspect
Tie a timber hitch around the bundle and follow the source guidance on tucking the end. Use only an unloaded sample and pause to match the cord path to the linked illustrated source before moving to the next stage.
- 05
Review
Release both, identify where motion or slack changed the result, and store the cord dry. Use only an unloaded sample and pause to match the cord path to the linked illustrated source before moving to the next stage.
Mistakes to avoid
- Using a memorized shape without checking the loaded strand and working end
- Using a practice knot for a rated, moving or human load
- Assuming all cord materials grip equally
If it isn’t working
The knot does not match the reference
Lay the cord down without tension, trace the working end from start to finish and retie from the original source illustration.
The practice knot slips or jams
Stop the hand test, note the cord surface and loading direction, and use another suitable method for a real task instead of claiming a rating.
Then & now
Historical context
Camp and timber work used quick attachments where they could be checked and adjusted; engineered rigging requires a specific rated method.
The modern equivalent
Purpose-built rated fittings and manufacturer-specified knots apply when a task has a defined load or safety requirement. A practice model teaches identification only.
Sources & review
Editorial draft — specialist review pending. Written 2026-09-24. Sources support the stated scope; this page has not been professionally certified.
- Animated Knots by Grog — Clove And Timber Hitches ↗
Illustrated tying sequence, distinct intended application and limits; follow the linked primary instructional source. Checked 2026-09-24.
- Animated Knots by Grog — Clove And Timber Hitches ↗
Illustrated tying sequence, distinct intended application and limits; follow the linked primary instructional source. Checked 2026-09-24.