Why it matters
A rivet forms a permanent fastener, but hole fit, material and joint design determine its actual strength. Blind rivets also have tool and mandrel hazards.
What you’ll need
Tools
- Notebook and pencil
- Manufacturer instructions
- Appropriate eye protection if handling scrap
Materials
- Unloaded scrap or paper model
Before you begin
Safety & limits
- Do not assume an installed rivet is structurally sound from appearance alone.
- Contain spent mandrels and keep fingers clear of tool jaws.
Work carefully, in order
The method
- 01
Select
Lay out two small scrap strips and a manufacturer-specified sample rivet on a bench. Stop at the conceptual stage if a trained operator, correctly guarded tool or material-specific instructions are unavailable.
- 02
Map
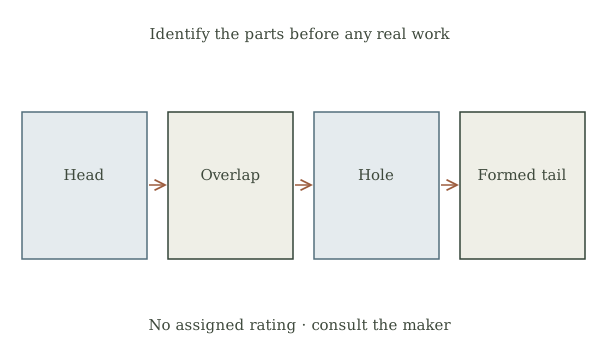
Sketch the overlap, drilled hole, head and formed tail in a side-view joint diagram. Stop at the conceptual stage if a trained operator, correctly guarded tool or material-specific instructions are unavailable.
- 03
Prepare
Check the fastener maker’s grip range against measured total material thickness. Stop at the conceptual stage if a trained operator, correctly guarded tool or material-specific instructions are unavailable.
- 04
Compare
For a noncritical demonstrator, use the matching tool under its instructions with eye protection and controlled workholding. Stop at the conceptual stage if a trained operator, correctly guarded tool or material-specific instructions are unavailable.
- 05
Record
Inspect for a seated head and damaged scrap, then recycle the model; consult joint specifications for any real load. Stop at the conceptual stage if a trained operator, correctly guarded tool or material-specific instructions are unavailable.
Mistakes to avoid
- Using an unknown material or fastener as though its rating were known
- Working around moving parts without isolation and guarding
- Treating the demonstration model as a specification
If it isn’t working
The part or material specification is missing
Leave the real assembly unaltered and obtain the maker’s service information or qualified advice before selecting a process.
A model does not behave as expected
Recheck dimensions, the intended motion and the source diagram; do not correct it by applying extra force to live equipment.
Then & now
Historical context
Riveted metal joined vessels and frames before many welds and adhesives; modern catalog rivets have specified applications.
The modern equivalent
Specified parts, documented service procedures, guarded machines and trained work provide the basis for real assemblies and repairs.
Sources & review
Editorial draft — specialist review pending. Written 2026-09-25. Sources support the stated scope; this page has not been professionally certified.
- OSHA — Permanent joints ↗
Primary safety, product or engineering reference for this conceptual method and limits. Checked 2026-09-25.
- Bolt Science — Permanent joints ↗
Primary safety, product or engineering reference for this conceptual method and limits. Checked 2026-09-25.

