Why it matters
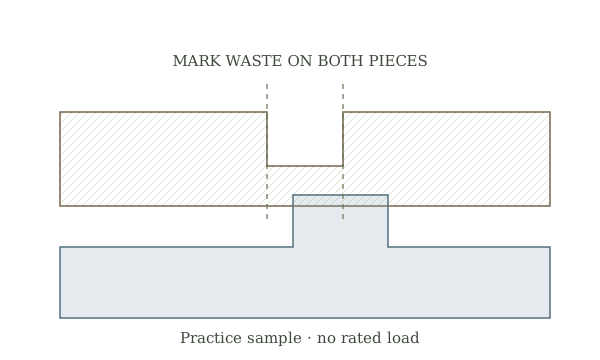
A stool supports a person and can fail suddenly if a joint is weak or a leg is uneven. The useful project skill is to follow a complete design with specified materials and fasteners, then check that the finished object sits securely. A drawing of four legs is not a load rating.
What you’ll need
Tools
- Approved stool plan
- Square
- Tape measure
- Clamps
- Hand tools specified by plan
Materials
- Specified dry lumber
- Specified fasteners and adhesive
Before you begin
Safety & limits
- Use a tested plan matched to intended users and material. Do not substitute smaller stock, different fasteners or joinery without a competent design review.
- Support workpieces while cutting and drilling. Do not stand on the stool, use it as a ladder or let someone sit before assembly and cure checks are complete.
Work carefully, in order
The method
- 01
Choose the design
Select a published plan with a material list, joint details, assembly sequence and intended use. Check the planned seat height, footprint and environment. A child’s low craft stool and an adult shop stool have different stability and load needs.
- 02
Inspect and mark stock
Reject split, rotten or heavily twisted pieces and measure actual thickness. Mark reference faces and all parts from the plan. Check leg orientation and the way joints resist side loads before cutting, rather than copying the concept plate as a pattern.
- 03
Prepare pieces safely
Clamp each workpiece and use the plan’s tool sequence, guards and drilling guides. Dry-fit without forcing joints. Check matching leg lengths and seat support surfaces against the plan; a small discrepancy can create rocking or a loose joint.
- 04
Assemble in sequence
Apply only the specified adhesive and fasteners in the stated order. Keep the assembly square with clamps or fixtures as directed; do not overtighten and crush wood. Allow curing and finishing time recommended by the materials maker.
- 05
Inspect and use within scope
Set the stool on a level floor and check for rocking, joint movement, splinters and protruding fasteners. If any defect appears, take it out of use for competent repair. Follow the plan’s intended use and recheck after moisture changes.
Mistakes to avoid
- Using a picture instead of a complete plan
- Forcing mismatched legs into an assembly
- Using a stool as a stepladder
If it isn’t working
Stool rocks
Check leg length, floor level and joint seating; do not hide a loose frame with a shim.
Joint opens after curing
Remove it from service and review wood moisture, fit and adhesive or fastener instructions.
Then & now
Historical context
Small stools were common early woodworking projects because they expose proportion, joinery and stability in one familiar object.
The modern equivalent
Tested kit designs and manufactured stools give known specifications and inspection guidance.
Sources & review
Editorial draft — specialist review pending. Written 2026-09-28. Sources support the stated scope; this page has not been professionally certified.
- Oregon State University Extension — 4-H Wood Science Leader Guide ↗
Woodworking projects, tool selection and teaching practices. Checked 2026-09-28.
- USDA Forest Products Laboratory — Wood Handbook ↗
Wood moisture, grain, properties, joints and fastening in context. Checked 2026-09-28.
- Occupational Safety and Health Administration — Hand and Power Tools ↗
Hand-tool hazards and safe tool condition. Checked 2026-09-28.