Why it matters
A sound seal can reduce unwanted air and water paths around stationary trim, but the wrong product or a bead over a wet or moving joint fails quickly. The substrate and purpose determine what belongs in the gap.
What you’ll need
Tools
- Caulk gun suited to cartridge
- Plastic scraper
- Painter's tape
- Gloves
Materials
- Manufacturer-labeled sealant compatible with the joint
- Clean rags
Before this skill
- weatherstripping
Before you begin
Safety & limits
- Follow the label and safety data sheet for ventilation, skin contact, cleanup and cure time. Do not seal a drain, weep hole, required ventilation opening or active leak. Avoid unknown lead paint or mold disturbance.
Work carefully, in order
The method
- 01
Identify the joint
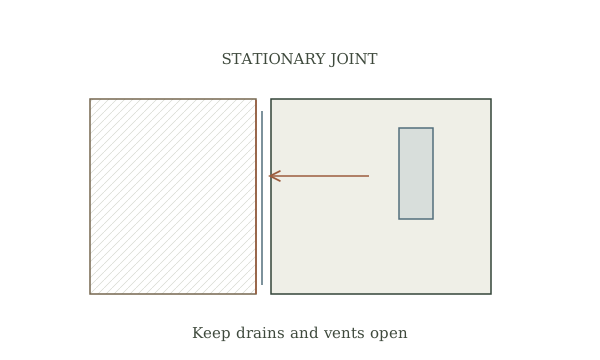
Choose a small stationary interior trim gap, not a moving sash, plumbing leak or structural crack. Investigate staining, soft material or persistent dampness before adding sealant; sealing over a water source hides the problem.
- 02
Match the product
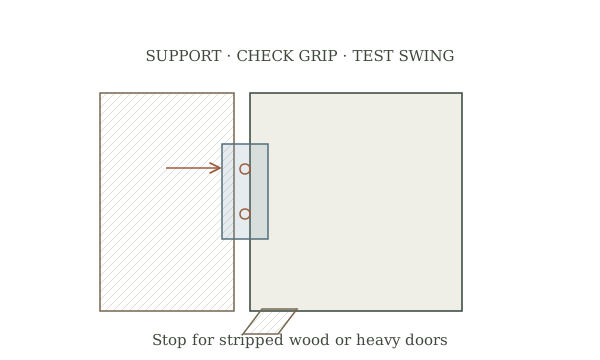
Read the cartridge for indoor use, substrate compatibility, joint size, paintability and cure conditions. Weatherstripping belongs on moving doors and windows; a sealant belongs in a stationary joint.
- 03
Prepare the surface
Remove only loose failed material with a plastic scraper and clean and dry the sound edges as the manufacturer directs. Protect adjoining finishes with tape if needed. Stop if old material may contain hazardous paint or asbestos.
- 04
Apply a small bead
Cut the nozzle to suit the gap and test flow on scrap. Move steadily along the joint using only enough material to bridge the surfaces. Tool and clean it within the product's stated working time without blocking drainage paths.
- 05
Cure and inspect
Leave the joint undisturbed for the full labeled cure time, then remove tape as directed and check adhesion and continuity. Record the product and date; a recurring crack or damp stain calls for diagnosis, not another layer.
Mistakes to avoid
- Using caulk on a moving window edge
- Sealing a weep or ventilation opening
- Covering wet or unsound material
If it isn’t working
Bead pulls away
Check substrate, dryness, joint size and product compatibility before removing and redoing a small test.
Moisture returns
Find the water source and repair it; a surface bead is not a leak diagnosis.
Then & now
Historical context
Earlier buildings used putty, mortar and other joint fillers. Modern sealants vary in movement, paintability, ventilation and cure requirements, so a generic recipe is not reliable.
The modern equivalent
Factory gaskets, weatherstripping or a designed flashing detail may be the appropriate system for a moving or exterior joint.
Sources & review
Editorial draft — specialist review pending. Written 2026-09-29. Sources support the stated scope; this page has not been professionally certified.
- U.S. Department of Energy — Consumer Guide to Air Sealing the Home ↗
Air sealing, caulk placement and distinction from weatherstripping. Checked 2026-09-29.
- U.S. Department of Energy — Insulation and Air-Sealing Essentials ↗
Stationary gaps versus moving assemblies. Checked 2026-09-29.