Why it matters
A blunt chisel demands more force and can slip. Sharpening means maintaining the maker’s bevel and flat reference surface, not grinding to an arbitrary angle. A small practice edge lets the user learn the sequence before working on valuable joinery.
What you’ll need
Tools
- Bench chisel
- Flat sharpening medium
- Compatible honing guide
- Eye protection
Materials
- Water or lubricant specified for the medium
- Non-slip mat
- Edge guard
Before you begin
Safety & limits
- Keep the edge pointed away from hands. Secure the stone, wear eye protection and never feel across the cutting edge to test it.
- A chipped, loose-handled or badly altered chisel needs qualified repair. Follow the chisel and abrasive makers’ instructions for bevel geometry and medium care.
Work carefully, in order
The method
- 01
Inspect the tool
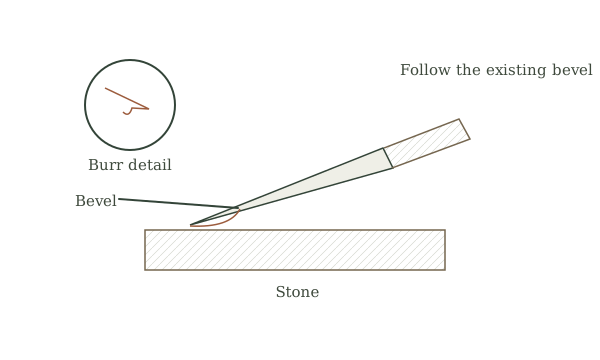
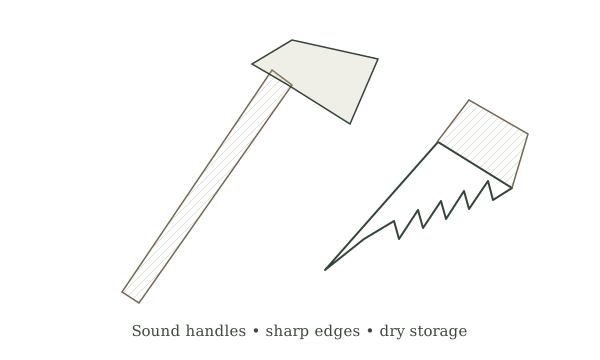
Check handle, ferrule and blade for cracks, looseness, corrosion and significant chips. Identify the maker’s intended bevel and any existing secondary bevel. Do not use a chisel with a loose or splintered handle.
- 02
Prepare a stable station
Set the abrasive on a non-slip surface at comfortable height and provide the specified lubricant. Keep the edge guard nearby and move other tools out of the stroke. Set the honing guide according to its own registration instructions.
- 03
Hone the bevel
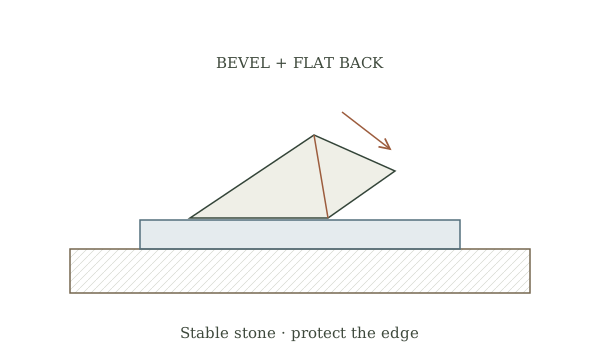
Clamp the chisel squarely in the compatible guide and make light, even passes on the bevel. Move through the maker-recommended abrasive sequence while keeping the contact controlled. Avoid overhanging a narrow stone or driving the blade into its edge.
- 04
Refine the back and edge
Use the maker’s guidance to maintain the flat area near the cutting edge on the back. Remove the small burr carefully by alternating controlled bevel and back contact. Do not round the back or press a bare finger across the sharp edge.
- 05
Test on scrap and store
Make a controlled paring cut in secured scrap with hands behind the edge. If it skates, revisit setup rather than pushing harder. Dry the tool, protect the edge and clean the sharpening station before returning the chisel to storage.
Mistakes to avoid
- Guessing a universal bevel angle
- Testing sharpness with a thumb
- Rounding the reference back
If it isn’t working
Edge still skates
Check guide registration, abrasive condition and burr removal rather than increasing force.
Bevel becomes uneven
Reduce pressure and verify the blade is clamped squarely in the guide.
Then & now
Historical context
Stones and guided jigs have both been used to maintain edge tools; repeatability and tool condition matter more than a universal angle.
The modern equivalent
Maker-specific honing guides provide repeatable registration for common edge tools.
Sources & review
Editorial draft — specialist review pending. Written 2026-09-28. Sources support the stated scope; this page has not been professionally certified.
- Lee Valley Tools — Getting Started with Your Chisel ↗
Maker guidance for a bench chisel and repeatable honing. Checked 2026-09-28.
- Lee Valley Tools — Setting Up the Mk II Honing Guide ↗
Manufacturer instructions for guided honing and blade registration. Checked 2026-09-28.
- Occupational Safety and Health Administration — Hand and Power Tools ↗
Hand-tool hazards and safe tool condition. Checked 2026-09-28.