Why it matters
A bin contains material, but access makes it usable. A removable front, a clear turning area and separate batch labels can matter more than decorative sides. This guide covers the enclosure and workflow; the Compost guide explains management of the material.
What you’ll need
Tools
- Tape measure
- Notebook
- Gloves
- Tools specified by the chosen bin system
Materials
- Purpose-made compost bin or documented assembly design
- Batch labels
- Approved plant-based compost inputs
Before this skill
- Garden Planning
Before you begin
Safety & limits
- Avoid sharp exposed mesh, unknown chemical containers and unstable stacks of heavy blocks. Check services before anchoring. Exclude pet waste, meat, grease and other unsuitable household inputs. Ordinary home bins do not validate pathogen destruction. Keep children clear of pinch points and moving panels.
Work carefully, in order
The method
- 01
Estimate the material flow
List the garden and kitchen plant material available through the year. Decide whether one holding bin suits the volume or separate incoming and maturing areas would help. Draw the path from collection to the bin and from the bin to the beds; include space for tools and a wheelbarrow.
- 02
Choose accessible ground
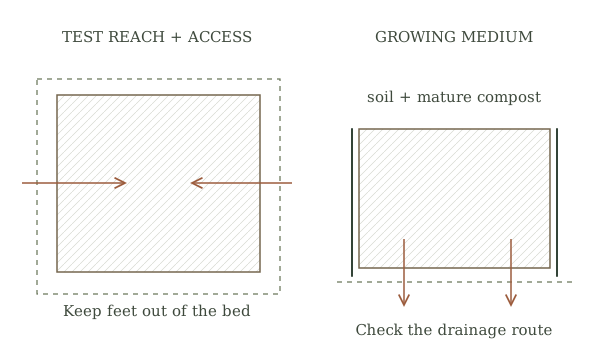
Mark a level, well-drained position convenient to the garden and water supply. Leave room for opening the front and turning or unloading material. Review local siting requirements and neighbour access. Do not place the unit where liquid or loose material can enter a watercourse or block a path.
- 03
Select a safe enclosure
Choose a bin with ventilation and usable access panels. Compare the product instructions with the planned location, batch volume and pest concerns. Check lid supports, sharp edges and the stability of the assembled system. A tightly sealed storage box is not automatically a suitable composting bin.
- 04
Assemble and check access
Follow the selected design on the prepared site. Open and close every working panel before filling; confirm that you can remove material without dismantling a loaded wall. Keep fasteners secure and protect exposed edges. Make any required anchoring part of the approved design.
- 05
Label batches and keep space free
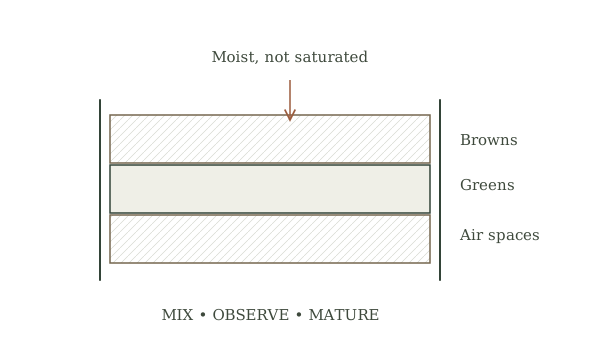
Mark the incoming batch and any maturing material separately. Keep the turning area available rather than filling it with stored tools. Add suitable inputs using the Compost guide, and record when a batch closes to new additions. A labelled bay is not proof that compost has finished.
- 06
Inspect the enclosure seasonally
Check panels, lid, ventilation openings and access after storms and as the material settles. Replace damaged parts before they fail. Remove finished material only after assessing its condition through composting guidance, then clean the working area and update the next batch label.
Mistakes to avoid
- Filling the turning space with unrelated storage
- Adding new scraps continuously to a supposedly finished batch
- Using unstable masonry sides
If it isn’t working
Material is difficult to remove
Review panel clearance and tool access before the next batch; do not dismantle a loaded unstable enclosure.
Pests repeatedly enter
Review permitted inputs, spill cleanup and the selected bin design; consult local pest guidance rather than adding poisons to compost.
Then & now
Historical context
Enclosed piles kept organic material close to gardens. Multi-bay systems made the movement from incoming waste to maturing compost easier to organise.
The modern equivalent
An accessible enclosure with labelled batches and a repeatable turning and inspection routine.
Sources & review
Editorial draft — specialist review pending. Written 2026-09-30. Sources support the stated scope; this page has not been professionally certified.
- University of Minnesota Extension — Composting in Home Gardens ↗
Bin forms, access, aeration, siting and appropriate household compost inputs. Checked 2026-09-30.