Why it matters
A sheltered growing space hides much of the weather a plant will meet in a garden. Acclimatisation gives you time to observe that transition. It does not turn a tender crop into a frost-hardy one, and finishing a schedule is less important than the condition of the plants.
What you’ll need
Tools
- Carrying tray
- Plant labels
- Notebook
- Weather forecast
Materials
- Healthy seedlings
- Sheltered outdoor space
Before you begin
Safety & limits
- Secure trays against falls and keep them out of walkways. Do not leave tender crops out during unsuitable cold or storm conditions.
Work carefully, in order
The method
- 01
Set a crop-specific starting point
Check local planting guidance and the forecast, including night conditions. Separate tender crops from plants that tolerate cooler weather. Identify somewhere protected to return the trays. Keep labels with each batch and decide who will move them when you are away; a forgotten tray defeats an otherwise careful plan.
- 02
Begin in shelter
Start with limited outdoor exposure in a sheltered position, avoiding an abrupt change to strong midday sun or wind. Inspect the plants before taking them out so existing damage is not mistaken for new injury. Return them to protection while conditions are still within the planned range.
- 03
Increase exposure gradually
Extend outdoor time and introduce brighter conditions in small steps while observing the response. Guidance commonly allows a period of weeks, but crop and previous conditions matter. Use a short log of location, exposure and response. If conditions worsen, repeat an easier stage rather than advancing to satisfy a date.
- 04
Check water and protection
Examine the growing medium as well as the leaves. A tray can behave differently outside from the same tray indoors. Maintain suitable moisture without using deliberate severe wilting as a training method. Keep frost-sensitive plants protected from cold conditions even when they have tolerated several good days outdoors.
- 05
Plant out when both are ready
Choose a suitable planting day once the plants and the destination bed are ready. Keep the acclimatisation record with the planting date. Check the batch after transplanting and compare it with your last outdoor observations. This distinguishes damage that began before planting from problems with the new location.
Mistakes to avoid
- Assuming hardening makes tender crops frost-proof
- Moving directly from indoor shelter to all-day exposed sun
- Continuing exposure through obvious deterioration
If it isn’t working
Leaves bleach or scorch
Return the plants to gentler conditions and review exposure; damaged tissue does not instantly recover.
The forecast changes
Delay planting and protect the batch. A postponed planting date is better than a preventable loss.
Then & now
Historical context
Moving plants between shelter and open air is a practical observation skill; local knowledge helps because weather and exposure vary within a property.
The modern equivalent
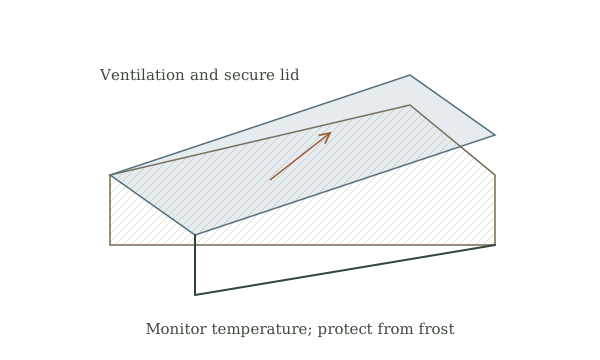
Cold frames and greenhouse controls provide intermediate conditions, but small batches can also be moved by hand.
Sources & review
Editorial draft — sources checked; specialist review pending. Written 2026-09-20. Sources support the stated scope; this page has not been professionally certified.
- Royal Horticultural Society — hardening off tender plants ↗
Gradual outdoor exposure and the limits of frost tolerance. Checked 2026-09-20.