Why it matters
Starting seeds is a sequence of small decisions rather than one planting event. A tray that germinates beautifully can still fail before transplanting if there is no growing space or daily care. Start with a modest batch whose needs you can actually meet.
What you’ll need
Tools
- Seed trays
- Plant labels
- Watering jug
- Suitable grow light and timer
Materials
- Seed
- Seed-starting mix
- Drainage tray
Before you begin
Safety & limits
- Keep electricity and watering equipment safely separated. Follow equipment labels; do not improvise heaters or chemical disinfectant mixtures.
Work carefully, in order
The method
- 01
Work backwards from planting out
Choose a crop suitable for transplanting and use its packet and local growing guidance to select a sowing date. List germination requirements beside that date. Reserve space for larger pots and later outdoor acclimatisation. Do not start every packet at once merely because a calendar calls the month spring.
- 02
Prepare one labelled batch
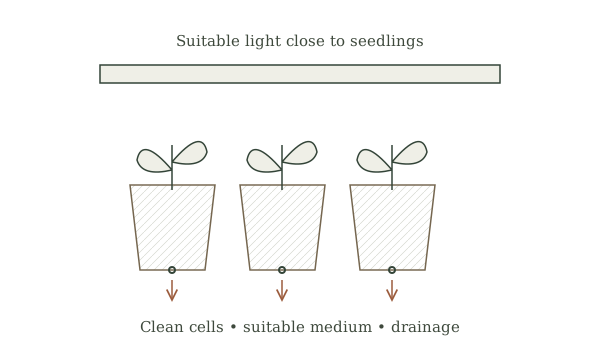
Use clean containers with drainage holes and a suitable seed-starting medium. Moisten the mix before filling, then label each group with crop, variety and date. Keep the packet with your notes. A clear label is more useful than trusting yourself to recognise several almost identical seedlings a month later.
- 03
Sow to the seed’s instructions
Follow the packet for depth and any light requirement; there is no universal depth for every species. Record the number of cells sown and leave enough room to distinguish varieties. Water gently so the seeds stay where you placed them. Check the tray drains instead of leaving it standing in surplus water.
- 04
Observe emergence and growth
Check moisture and emergence daily. Provide appropriate light when seedlings appear, following the light manufacturer’s spacing guidance, and avoid crowding. If multiple seedlings share a cell, retain the intended number without tearing neighbouring roots. Record failures by cell rather than repeatedly resowing unidentified gaps.
- 05
Review before potting on
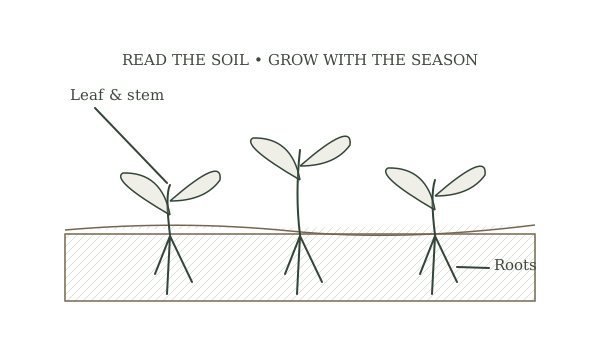
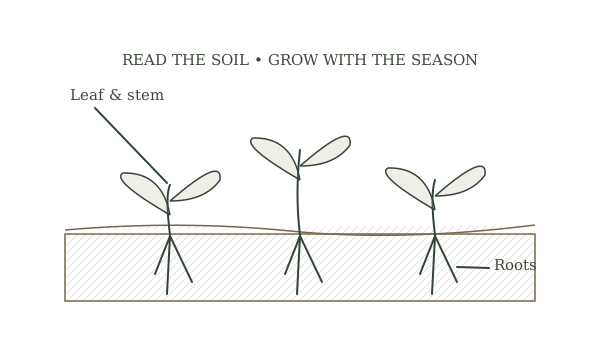
Look for a well-rooted plant with usable growing space, not merely the tallest stem. Pot on when the crop needs it, then plan hardening off before planting outside. At the end, calculate how many useful plants the batch produced. That result helps choose a sensible sowing quantity next season.
Mistakes to avoid
- Starting too much too early
- Losing variety labels
- Treating a tall weak seedling as the best plant
If it isn’t working
Seedlings stretch toward light
Review light intensity, spacing and crowding; follow equipment guidance instead of placing a powerful lamp arbitrarily close.
Only one section fails
Compare its watering, temperature and seed lot with the successful cells before changing the entire setup.
Then & now
Historical context
Indoor sowing extends the gardener’s control over timing, but historical windowsill practice is not a substitute for suitable light and growing conditions.
The modern equivalent
Cell trays, commercial media and timed lighting make conditions easier to repeat; they do not replace observation.
Sources & review
Editorial draft — sources checked; specialist review pending. Written 2026-09-20. Sources support the stated scope; this page has not been professionally certified.
- University of Minnesota Extension — starting seeds indoors ↗
Containers, sowing, light and seedling care; regional calendars require local adaptation. Checked 2026-09-20.