Why it matters
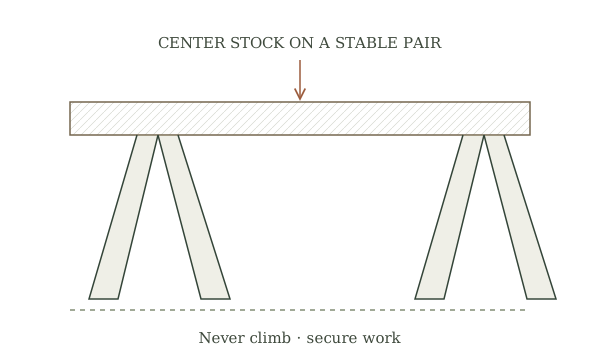
A sawhorse keeps a workpiece at a useful height but can tip under an off-center board or fail at a loose leg joint. It is support equipment, not a ladder. This guide teaches selection and assembly from a tested plan, with emphasis on a pair’s spacing and stability.
What you’ll need
Tools
- Tested sawhorse plan
- Square
- Tape measure
- Clamps
- Specified cutting tools
Materials
- Plan-specified lumber or rated kit
- Compatible fasteners
Before you begin
Safety & limits
- Do not stand, sit or climb on a sawhorse. Avoid overhead or suspended loads and never exceed the maker’s stated capacity.
- Use two matched supports on stable level ground and secure the work independently; watch for pinch points and falling offcuts.
Work carefully, in order
The method
- 01
Define the work
List the material to support, its length and how it will be cut or planed. Choose a manufactured rated pair or a tested plan whose intended use covers the work. A concept drawing cannot specify an allowable load.
- 02
Check the site and stock
Find firm, level footing with enough clear space for the whole board and operator. Inspect lumber or kit parts for cracks, missing hardware and distortion. Match all components to the chosen plan; do not substitute a narrow top or omit bracing.
- 03
Lay out and assemble
Mark from reference faces and follow the plan’s angles, connections and assembly order. Clamp pieces during cutting and fastening. Verify both ends and any spreaders before final tightening; legs should contact the ground as the plan intends.
- 04
Set a pair and test stability
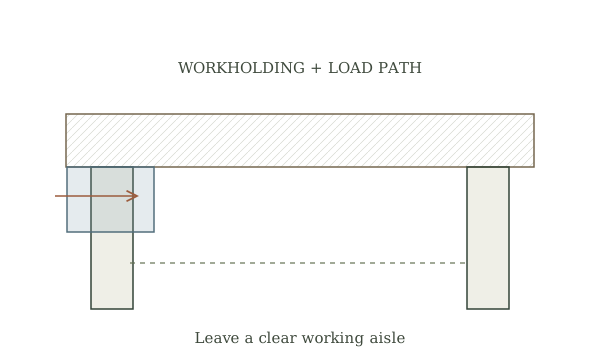
Place two matched units at appropriate positions under a light practice board. Confirm that all feet bear on the surface and neither horse rocks. Restrain rolling or shifting stock with compatible clamps without sawing into a top or clamp.
- 05
Inspect during work
Keep the load centered within the planned use, watch for shifting as an offcut separates and maintain a clear escape path. Stop if a joint opens, a foot lifts or the board bows excessively. Store the supports dry and inspect hardware before reuse.
Mistakes to avoid
- Standing on a sawhorse
- Cutting between widely spaced supports without controlling sag
- Ignoring one rocking foot
If it isn’t working
Unit rocks on level ground
Check leg lengths and connections against the tested plan; take it out of service until corrected.
Board shifts while sawing
Reposition the pair and use compatible clamps; avoid holding the work in the blade path.
Then & now
Historical context
Portable trestles supported hand work on farms and building sites; their bracing and footing were as important as the top beam.
The modern equivalent
Rated folding supports supply documented capacity and locking mechanisms for their specified use.
Sources & review
Editorial draft — specialist review pending. Written 2026-09-28. Sources support the stated scope; this page has not been professionally certified.
- Oregon State University Extension — 4-H Wood Science Leader Guide ↗
Woodworking projects, tool selection and teaching practices. Checked 2026-09-28.
- Oregon State University Extension — Working with Wood & Tools ↗
Hand-tool practice, measuring, marking and safe work habits. Checked 2026-09-28.
- Occupational Safety and Health Administration — Hand and Power Tools ↗
Hand-tool hazards and safe tool condition. Checked 2026-09-28.