Why it matters
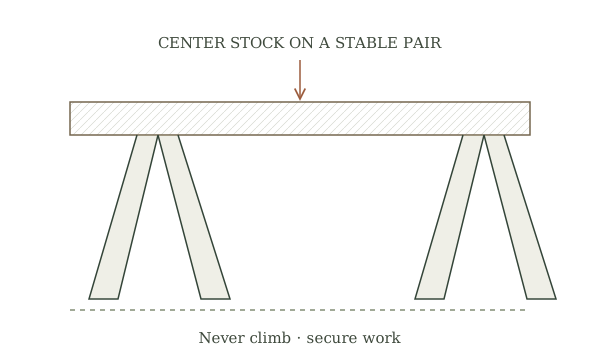
A bench must resist planing forces, support stock and provide a comfortable working position. Storage, vises and overhangs change its stability. The most valuable choice is to match a tested bench or kit to the work and available space instead of copying a pretty tabletop.
What you’ll need
Tools
- Site sketch
- Tape measure
- Bench or kit specifications
- Level
Materials
- Plan-specified stock or rated bench kit
- Compatible workholding
Before you begin
Safety & limits
- Use a tested plan or rated kit for the expected forces and equipment. Anchor or stabilize only as specified; do not use the bench as a ladder or for unsupported heavy loads.
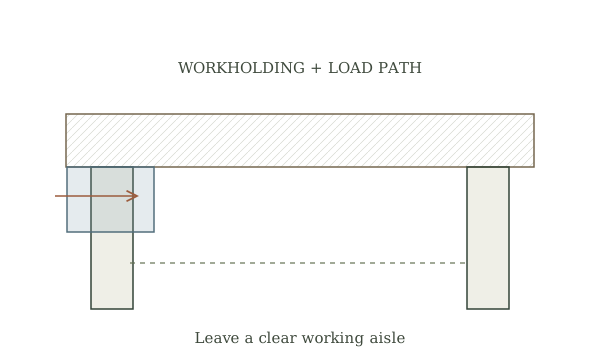
- Keep power, dust collection and walkways clear. A vise or overhanging tool can tip an inadequately supported bench.
Work carefully, in order
The method
- 01
List the work
Identify whether the bench will serve hand planing, small assembly, sharpening or powered tools. Measure the available floor area and clearances around doors and exits. Record work height needs, storage and the heaviest anticipated equipment.
- 02
Choose a verified design
Compare tested plans or rated kits for footprint, workholding, stability and specified material. Note where lateral planing force goes and whether a vise or overhang requires anchoring. Do not infer a capacity from board thickness alone.
- 03
Prepare the space
Check floor level, lighting, ventilation and access to tools without crossing a cutting path. Plan where shavings and dust will go. Keep outlets and cords away from wet sharpening stations and identify a safe position for long boards.
- 04
Assemble to specification
Inspect components and fasteners; mark parts from reference faces. Follow the plan’s sequence, tool guards and fastening requirements. Tighten hardware as instructed and install a vise or stop only in the prescribed position with suitable reinforcement.
- 05
Test and maintain
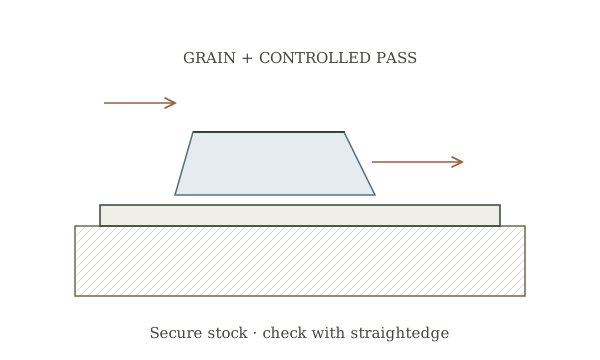
Try light work on secured scrap and observe movement, rocking, vise slip and strain. Correct defects before increasing force. Recheck joints, fasteners, top flatness and floor contact periodically, especially after moving or seasonal humidity change.
Mistakes to avoid
- Adding a heavy vise to an untested overhang
- Ignoring floor contact and lateral force
- Using a bench as a standing platform
If it isn’t working
Bench walks during planing
Stop and review the design’s restraint or anchoring provisions instead of leaning harder.
Vise pulls away from top
Remove it from service and have the mounting and support evaluated against the manufacturer’s instructions.
Then & now
Historical context
Joiners developed benches with stops and vises so hands could guide tools while the wood stayed put; modern benches vary by trade and available space.
The modern equivalent
Modular rated benches and clamping systems offer specified compatibility for different tasks.
Sources & review
Editorial draft — specialist review pending. Written 2026-09-28. Sources support the stated scope; this page has not been professionally certified.
- Oregon State University Extension — 4-H Wood Science Leader Guide ↗
Woodworking projects, tool selection and teaching practices. Checked 2026-09-28.
- Oregon State University Extension — Working with Wood & Tools ↗
Hand-tool practice, measuring, marking and safe work habits. Checked 2026-09-28.
- USDA Forest Products Laboratory — Wood Handbook ↗
Wood moisture, grain, properties, joints and fastening in context. Checked 2026-09-28.