Why it matters
A complete recipe assumes equipment works as designed. A faulty gauge can report a pressure that has not actually been reached; a blocked vent changes how a pressure canner exhausts air. Damaged jars or inappropriate containers introduce other risks. An early equipment check leaves time to replace a part or select a different preservation method.
What you’ll need
Tools
- Canner manufacturer manual
- Jar lifter
- Good work light
- Access to dial-gauge testing where applicable
Materials
- Suitable home-canning jars and matching new lids as specified
- Rack, vent, gasket and gauge appropriate to the canner
- Complete tested food-specific recipe
Before this skill
- Food Canning Safety
- Choosing Tested Preservation Recipes
Before you begin
Safety & limits
- Do not use a pressure cooker, small electric multi-cooker or damaged canner as a substitute for a tested pressure canner. Match equipment and jar sizes to the complete process.
- Have dial gauges checked for accuracy before use each year through a qualified testing service or manufacturer as appropriate. Do not guess a correction from a home trial.
- Follow the canner model’s maintenance and operation manual; do not oil modern pre-lubricated gaskets by default or defeat a safety lock.
Work carefully, in order
The method
- 01
Identify the required canner
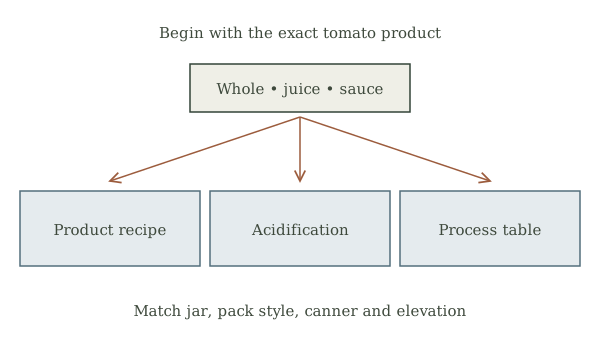
Start with the product-specific tested recipe. Determine whether it calls for boiling-water or pressure canning, then confirm the actual canner supports that method and jar size. A low-acid vegetable requires its appropriate pressure-canning process; selecting equipment after filling jars can lead to a dangerous improvisation.
- 02
Inspect jars and lids
Check home-canning jars for chips at the rim, hairline cracks or other damage and set questionable jars aside. Use closures and jar types appropriate to the published process and follow their current manufacturer instructions. A ring that screws on is not the same as a properly prepared sealing lid.
- 03
Check rack, vent and seals
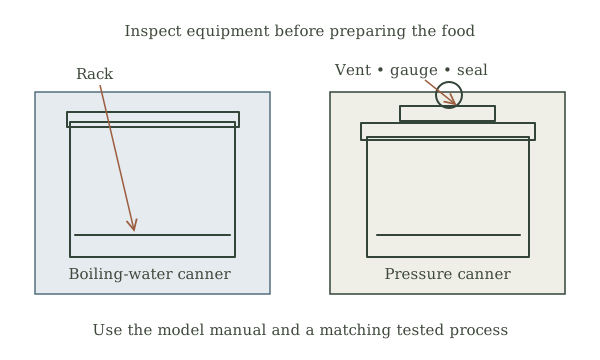
Confirm the proper rack sits securely and keeps jars off the canner bottom. For a pressure canner, inspect the vent path, overpressure device, lid lock and gasket according to its manual; replace worn components with compatible parts. If an instruction is missing for an old model, obtain a reliable manual or replacement equipment.
- 04
Verify the gauge and heat source
Arrange an annual accuracy check for dial gauges as advised by NCHFP. Identify whether the source process gives a weighted- or dial-gauge table, and record local elevation before using either. Check that the burner and surface are approved for the canner’s weight and heat requirements; manufacturer instructions govern fit and use.
- 05
Stage before processing
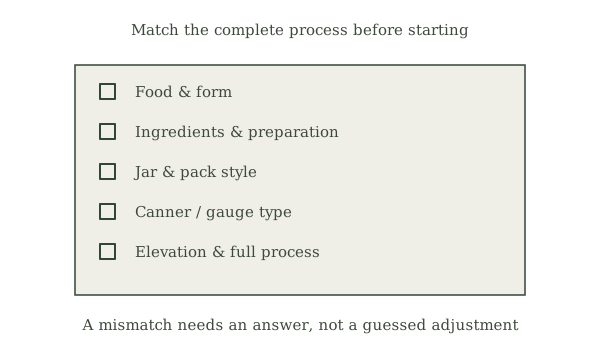
Place the tested recipe, canner manual, jars, rack and tools together. Read the complete venting, timing, natural cooling and jar-handling directions before starting. If a component fails inspection, stop and replace it or choose an explicitly supported refrigeration or freezing alternative for the prepared food.
Mistakes to avoid
- Relying on an untested dial gauge because the lid seems tight.
- Oiling a gasket without checking the model’s manual.
- Assuming every pressure cooker qualifies as a canner used in published processes.
If it isn’t working
The gauge cannot be tested in time
Delay pressure canning until its accuracy is verified or use a supported alternative for the food. Contact extension or manufacturer for qualified options.
The jar size is absent from the recipe table
Get the specified jars or another tested process; do not extrapolate a time from a different size.
Then & now
Historical context
Earlier households used different jars, gaskets and canner designs. Antique equipment is useful to study, but current jar closure instructions and manufacturer maintenance requirements take priority for a present-day canning batch.
The modern equivalent
Modern extension services, product manuals and replaceable canner parts make equipment checks more reliable than judging a pot by appearance.
Sources & review
Editorial draft — specialist review pending. Written 2026-09-24. Sources support the stated scope; this page has not been professionally certified.
- NCHFP — recommended canners ↗
Canner types, dial-gauge accuracy checks and gasket care. Checked 2026-09-24.
- NCHFP — recommended jars and lids ↗
Jar and closure suitability and preparation. Checked 2026-09-24.
- NCHFP — using pressure canners ↗
Equipment checks, venting and natural depressurization in a full process. Checked 2026-09-24.