Why it matters
A stitch holds only as well as the cloth it enters. Running stitches travel through fabric in a line; whip stitches cross an edge. Learning this distinction makes it easier to choose a seam, attach a patch, or hold pieces temporarily without pulling the material out of shape.
What you’ll need
Tools
- Needle
- Scissors
- Thimble
- Ruler
Materials
- Sewing thread
- Two woven fabric scraps
Before you begin
Safety & limits
- Store needles and scissors safely; count pins before leaving the work area. Practice on scraps, not while someone is wearing the garment.
Work carefully, in order
The method
- 01
Prepare a visible practice sample
Choose firmly woven scraps and contrasting thread so the path is easy to see. Use a needle that passes through without leaving a large hole. Cut roughly a forearm of thread, thread the eye and secure one end. Draw a straight practice line well inside the fabric edge. Keep your first sample rather than judging the method on a valuable garment.
- 02
Make a running line
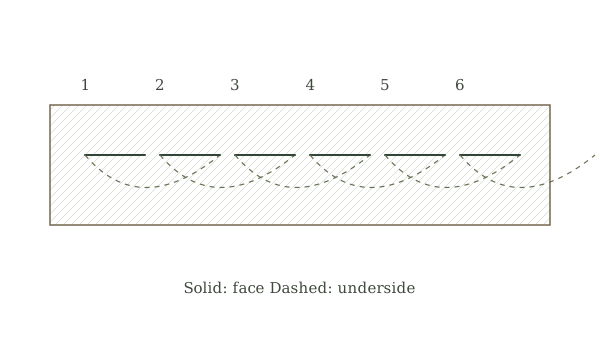
Bring the needle up at the start, down a short distance ahead, then up again farther along the line. Repeat this alternating path, aiming for similar surface stitches and gaps. Pull each stitch through before trying several at once. The thread should rest on the cloth; if the line gathers into wrinkles, release the last stitches and use less tension.
- 03
Compare basting with permanent work
Try a second line with longer stitches. These are easier to remove and useful for temporarily holding pieces while checking their position. Smaller running stitches leave less unsupported cloth between bites, but this is still not the best choice for every stressed seam. Use the back-stitch guide for a firm hand-sewn seam rather than simply tightening a loose running line.
- 04
Wrap an edge with whip stitch
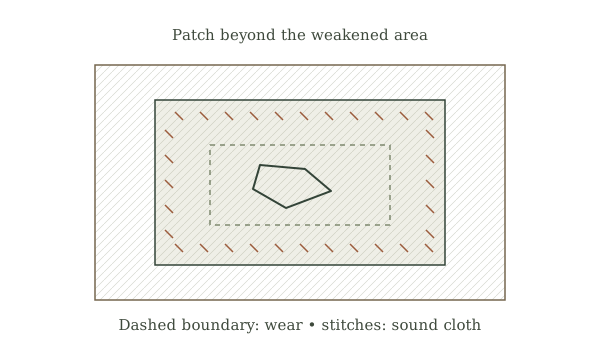
Align two scrap edges, or place a folded patch edge on a base scrap. Anchor in sound fabric. Pass the needle through near the edge, carry the thread over that edge, and enter from the same side a little farther along. Repeating makes slanted wraps. Keep the distance from the edge consistent and avoid catching an unintended layer behind the work.
- 05
Finish and assess the result
Make two small securing stitches in the same sound area, passing the needle through the final thread loop before tightening. Trim the tail. Spread the sample flat and gently pull across the join. Look for curling edges, loose loops or holes opening around needle entries. Label the two samples and keep them with your sewing supplies as a tension reference.
Mistakes to avoid
- Pulling harder to compensate for rotten fabric; reinforce or replace the weak area instead.
- Confusing a whip stitch through fabric with whipping an existing line of embroidery stitches.
If it isn’t working
The edge rolls into a cord
Undo the tight section and remake it with gentler tension and a slightly deeper bite.
The thread knots repeatedly
Use a shorter working length and occasionally let the needle hang to release twist.
Then & now
Historical context
Running stitch appears in many long-standing embroidery and quilting traditions. Its practical role can overlap with decoration; one simple stitch does not make all those distinct traditions interchangeable.
The modern equivalent
A machine straight stitch or overlocker can cover long seams quickly. Hand stitches remain useful where only one fabric layer is reachable, and for controlled temporary fitting.
Sources & review
Editorial draft — specialist review pending. Written 2026-09-21. Sources support the stated scope; this page has not been professionally certified.
- Royal School of Needlework — running stitch ↗
Running stitch structure and its distinction from temporary basting. Checked 2026-09-21.
- Royal School of Needlework — whip stitch ↗
Whip stitch structure and edge attachment; the garment workflows here are original examples. Checked 2026-09-21.