Why it matters
A button needs secure stitches and a little space beneath it. Pulling a flat button hard against thick cloth can make fastening difficult and strain the stitching. A thread shank creates that clearance without leaving the button loose.
What you’ll need
Tools
- Needle
- Scissors
Materials
- Matching thread
- Button
- Garment
Before you begin
Safety & limits
- Account for needles and pins, especially around children and pets.
Work carefully, in order
The method
- 01
Find the placement
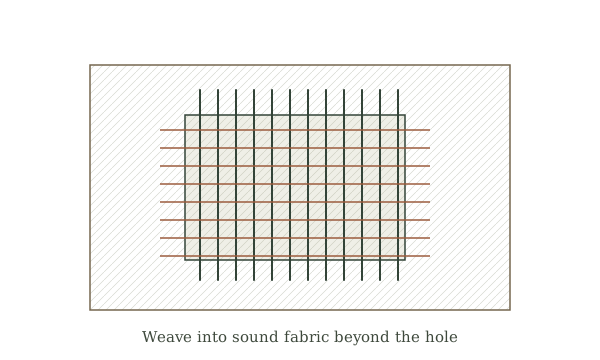
Fasten neighboring buttons and align the garment edges. Mark the missing button’s position from the corresponding buttonhole or the old stitch marks. Check that the fabric beneath is sound; reinforce a worn spot before sewing.
- 02
Prepare the thread
Cut a manageable length, thread the needle, and secure the end with a small knot or anchoring stitches. Work from the inside so the start is hidden. Avoid an unnecessarily long thread, which tangles and weakens with repeated abrasion.
- 03
Make the attachment
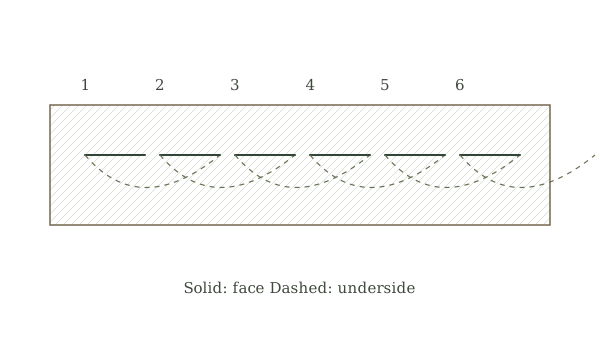
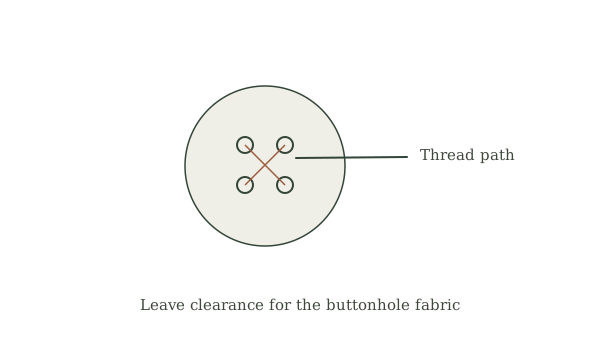
Bring the needle through the fabric and one button hole, then down through another. Repeat neatly several times, keeping the button aligned. For thick fabric, hold a small spacer under the stitches on top of the button to leave clearance beneath it.
- 04
Form the shank
Remove the spacer and bring the needle between button and cloth. Wrap the thread around the stitches beneath the button to make a short firm shank. Do not build a long floppy stalk; it should suit the thickness of the buttonhole side.
- 05
Finish and test
Secure the thread on the inside with small finishing stitches and trim it. Fasten and unfasten the garment. Check alignment and clearance before considering the repair complete; a securely sewn button in the wrong position still needs moving.
Mistakes to avoid
- Sewing through both garment layers accidentally
- Pulling a flat button flush onto thick cloth
- Using too little sound fabric
If it isn’t working
Buttonhole strains
Add appropriate shank clearance.
Button tilts
Even the stitches and check hole pattern.
Then & now
Historical context
Buttons were replaceable fasteners, making this a common household maintenance skill.
The modern equivalent
A sewing machine with a button program can attach suitable flat buttons; hand sewing remains useful on finished garments.
Sources & review
Editorial draft — specialist review pending. Written 2026-09-20. Sources support the stated scope; this page has not been professionally certified.
This entry describes general practice. A topic-specific source review is still required before it can be marked reviewed.
How this manual handles evidence →