Why it matters
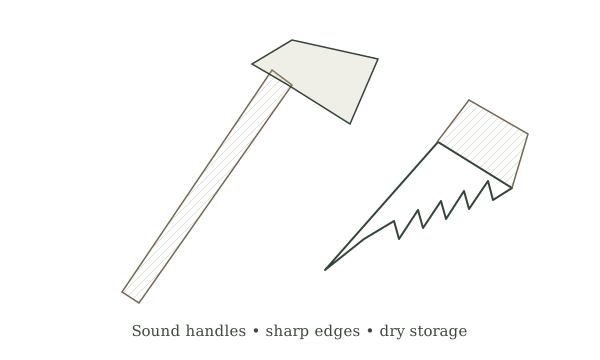
A striking-tool handle transmits repeated shock. The fit between wood and head matters more than a large wedge forced into a poor fit. A replacement should match the tool design; not every modern head is meant to be rehandled at home.
What you’ll need
Tools
- Vise
- Rasp
- Saw
Materials
- Manufacturer-compatible handle
- Specified wedges
Before you begin
Safety & limits
- A loose head can leave a swinging tool. Obtain competent inspection before use.
Work carefully, in order
The method
- 01
Identify the system
Read the tool maker’s replacement instructions and confirm that a compatible handle is available. Inspect the head for cracks and deformation. A good new handle cannot make a damaged head serviceable.
- 02
Remove the old handle safely
Secure the head and follow the specified removal method. Do not burn the handle out: heating can damage the tool’s heat treatment and create smoke hazards. Stop if removal requires uncontrolled striking or improvised support.
- 03
Fit gradually
Shape only the areas required for full appropriate seating, checking often. Use contact marks to identify high spots rather than removing wood everywhere. Keep the head aligned with the handle and preserve the intended shoulder and grain orientation.
- 04
Secure to the specification
Install the correct wedge arrangement exactly as directed for the tool. More wedges do not necessarily mean a stronger joint. Do not rely on soaking a loose handle in water as a lasting repair; swelling is temporary.
- 05
Inspect before work
Have the repair checked by an experienced person before returning a striking tool to service. Look for gaps, splitting, movement, or poor alignment. Reinspect after initial controlled use and retire the tool immediately if looseness appears.
Mistakes to avoid
- Burning out a handle
- Over-rasping and filling gaps with wedges
- Using water swelling as a permanent fix
If it isn’t working
Head will not seat squarely
Check fit and compatibility rather than forcing it.
Handle splits at the eye
Replace and reassess the wedging method.
Then & now
Historical context
Rehandling extended the life of valuable metal heads, but required careful fitting and sound wood.
The modern equivalent
Manufacturer replacement services or complete replacement may be appropriate for proprietary tools.
Sources & review
Editorial draft — specialist review pending. Written 2026-09-20. Sources support the stated scope; this page has not been professionally certified.
This entry describes general practice. A topic-specific source review is still required before it can be marked reviewed.
How this manual handles evidence →