Why it matters
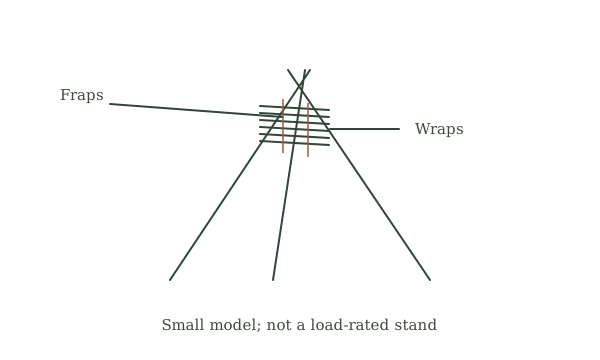
Wrapping holds poles together; frapping tightens the wraps between them. A tripod’s stability then depends on leg spread, ground contact, and the joint. A neat lashing is not a rated support for a person or a suspended cooking pot.
What you’ll need
Tools
- Practice cord
- Scissors
Materials
- Three smooth short poles
Before you begin
Safety & limits
- This is a model-building lesson. Do not suspend loads, pots over people, or human weight from it.
Work carefully, in order
The method
- 01
Choose a model scale
Use three short sound smooth poles for a tabletop model. Reject split or decayed pieces. Arrange them together with their tops aligned sufficiently for the intended lashing and keep hands clear of pinch points.
- 02
Start the binding
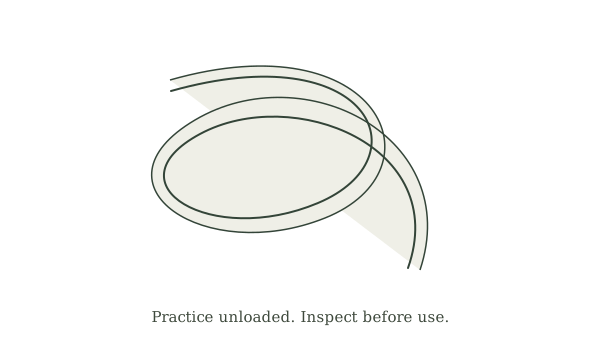
Start with a clove hitch on an outside pole. Make about six racking turns, weaving the cord in and out around the three poles. Keep turns orderly and close together. Follow the linked reference so the rope path increases contact with each pole.
- 03
Add frapping turns
Make two or three frapping turns in each gap between poles, around the binding turns, to draw them together. Finish with a clove hitch. Leave enough movement to open the tripod; overtight binding can prevent the poles from spreading properly.
- 04
Spread the legs
Lift the small model and cross the outside poles as shown in the linked reference, then spread the feet. Keep hands out of the joint. Observe how a narrow footprint tips more easily and how one sliding foot changes the stability of the whole arrangement.
- 05
Evaluate the limits
Push the empty model gently from different directions and inspect any movement at the lashing. Retie to improve consistency. Real tripods for loads require sound materials, suitable lashings, secure feet, and a design appropriate to the use—not scaling up this model by eye.
Mistakes to avoid
- Making wraps cross randomly
- Omitting frapping
- Calling any tripod a safe lifting frame
If it isn’t working
Poles cannot spread
Retie with room for articulation.
Joint slips
Check binding and finishing hitch on the unloaded model.
Then & now
Historical context
Lashings joined poles without bored holes or metal fasteners, useful where suitable cordage and timber were available.
The modern equivalent
Rated tripods and stands provide documented capacities and compatible hardware.
Sources & review
Editorial draft — specialist review pending. Written 2026-09-20. Sources support the stated scope; this page has not been professionally certified.
- Animated Knots — tripod lashing ↗
Supporting method and limitations. Consult the complete source before practice. Checked 2026-09-20.