Why it matters
Yogurt is controlled milk fermentation. A jar that thickens is not proof that the process reached the source’s stated endpoint; milk handling, culture activity, incubation and chilling all matter.
What you’ll need
Tools
- Food thermometer
- Incubator or yogurt maker
- Clean jars
- pH measurement specified by the recipe
Materials
- Pasteurized milk
- Specified live starter culture
Before this skill
- Kitchen Hygiene
- Handling Milk and Chilled Dairy
Before you begin
Safety & limits
- Use the complete Utah State Extension recipe and its measurements, temperatures, endpoint and refrigeration directions. Do not substitute raw milk, an unverified starter or a guessed incubation schedule.
- Discard a batch when the endpoint was missed or its temperature history is uncertain; do not rescue it by adding more culture or tasting it.
Work carefully, in order
The method
- 01
Choose the process
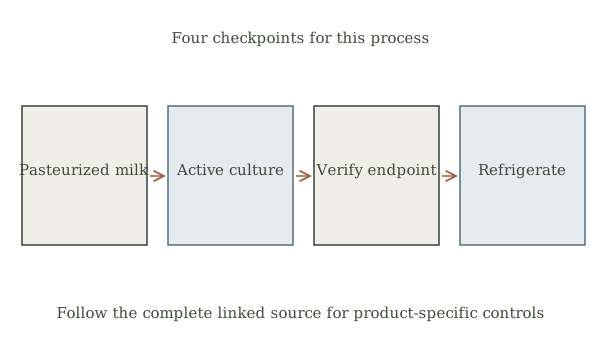
Select one full yogurt recipe from the linked extension source, including its activation or reculturing variant. Confirm that the milk, starter, equipment and batch size match; record the process before beginning.
- 02
Prepare the milk and vessels
Clean equipment and follow the source’s milk heat treatment and cooling sequence using a food thermometer. Keep the vessels covered and prevent cross-contamination during cooling and transfer.
- 03
Inoculate and incubate
Add the specified live culture at the source’s indicated point. Hold the product using the stated equipment and controls; record actual temperatures and time without changing the recipe based solely on texture.
- 04
Confirm and chill
Use the source’s stated endpoint check. Refrigerate immediately as directed, label the batch and follow its storage guidance. Set aside a starter for another batch only under the source’s reculturing instructions.
Mistakes to avoid
- Treating visible thickness as the sole endpoint.
- Adding culture while milk is outside the stated range.
- Assuming a failed batch becomes safe after longer warming.
If it isn’t working
The incubator temperature drifts
Stop improvising. Check the actual reading and use source or qualified extension guidance before deciding whether the batch is usable.
The batch does not meet the required endpoint
Discard it; restart with a fresh, identified starter and a verified incubator setup.
Then & now
Historical context
Cultured milk made fresh dairy usable in many food traditions. Thermometers, suitable cultures and measured endpoints make a modern batch more predictable than a warm jar left by the stove.
The modern equivalent
A controlled yogurt maker and thermometer make the traditional culturing sequence easier to track; they do not replace endpoint verification.
Sources & review
Editorial draft — specialist review pending. Written 2026-09-24. Sources support the stated scope; this page has not been professionally certified.
- Utah State University Extension — Homemade Fermented Yogurt ↗
Complete culture activation and reculturing processes, endpoint and immediate refrigeration. Checked 2026-09-24.
- FDA — The Dangers of Raw Milk ↗
Raw-milk pathogen risks; use pasteurized dairy for these introductory guides. Checked 2026-09-24.
- FoodSafety.gov — Four Steps to Food Safety ↗
Clean preparation and prompt refrigeration of perishable foods. Checked 2026-09-24.