Why it matters
Drying changes the water available for microbial growth. Uneven thickness and overcrowded trays produce uneven results. A dry surface can hide a wet center, so the process must follow guidance for the particular food rather than a single universal drying time.
What you’ll need
Tools
- Food dehydrator
- Knife
- Thermometer
Materials
- Sound fruit or vegetables
- Food-grade containers
Before you begin
Safety & limits
- Use a tested food-specific method. Drying is not a reliable treatment for already spoiled food.
Work carefully, in order
The method
- 01
Choose a tested process
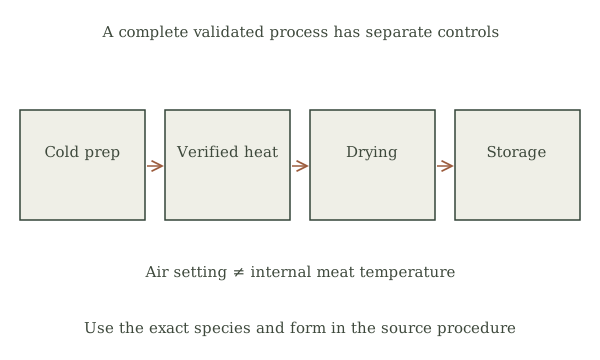
Begin with a fruit or vegetable covered by a reliable food-preservation guide and your dehydrator’s instructions. Note preparation, pretreatment or blanching, temperature, and dryness checks. Meat and poultry require additional validated safety steps and are outside this beginner exercise.
- 02
Prepare evenly
Wash sound produce and remove damaged portions as the chosen process directs. Cut pieces to consistent thickness. Keep raw and prepared food apart and clean the knife and work surface; drying does not excuse poor kitchen hygiene.
- 03
Load for airflow
Arrange a single layer with room between pieces. Use the specified temperature and rotate trays if the machine’s instructions require it. Record the start time and observations rather than increasing heat to rush a slow batch.
- 04
Check the interior
Cool a sample before evaluating dryness because warm food can feel softer. Check several pieces from different trays. Follow the food-specific endpoint and any required fruit-conditioning procedure; do not declare an entire batch dry from its thinnest slice.
- 05
Pack and monitor
Cool fully before packing into clean moisture-resistant containers. Label food and date, using small portions that will not be repeatedly exposed to humid air. If condensation or mold appears, stop and follow preservation guidance; moldy dried food should be discarded.
Mistakes to avoid
- Slicing unevenly
- Sealing warm produce
- Treating sun-dried meat as a safe beginner project
If it isn’t working
Outside dries before inside
Review slice thickness, temperature, and airflow.
Moisture appears in storage
Stop using the batch and investigate incomplete drying or moisture entry.
Then & now
Historical context
Drying works especially well in suitable climates; modern dehydrators reduce dependence on weather and protect against insects.
The modern equivalent
Freezing can be simpler for foods without a convenient validated drying process.
Sources & review
Editorial draft — specialist review pending. Written 2026-09-20. Sources support the stated scope; this page has not been professionally certified.
- NCHFP — drying method library ↗
Supporting method and limitations. Consult the complete source before practice. Checked 2026-09-20.