Why it matters
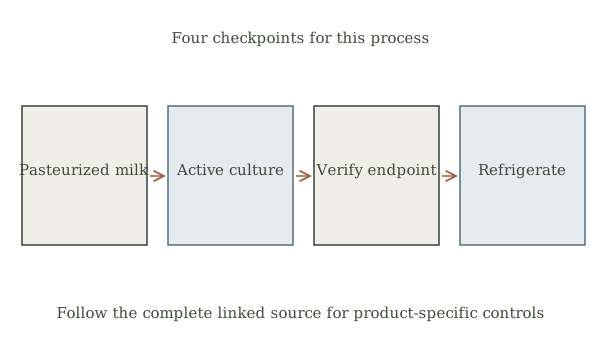
Cultured buttermilk is an intentional fermentation, not milk left to sour. The culture, measured incubation and acid endpoint matter.
What you’ll need
Tools
- Controlled incubator or yogurt maker
- Clean jars
- Food thermometer
- Calibrated food pH meter
Materials
- Pasteurized whole milk
- Specified buttermilk starter culture
Before this skill
- Kitchen Hygiene
- Handling Milk and Chilled Dairy
Before you begin
Safety & limits
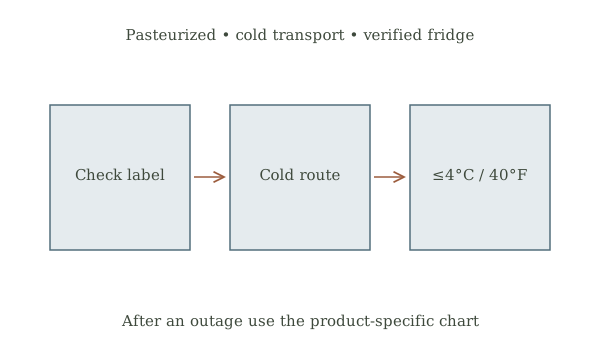
- Use pasteurized milk and the linked USU recipe. Do not substitute naturally soured milk, unknown cultures or an unmeasured warm counter.
- USU specifies a pH of 4.6 or less within 48 hours for starter activation; discard if this is not reached in time. Refrigerate finished dairy.
Work carefully, in order
The method
- 01
Choose the source route
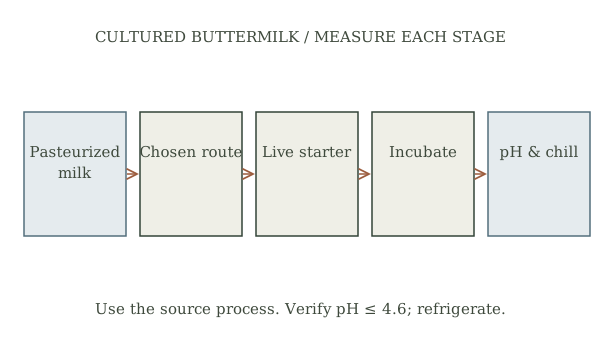
Read the USU activation or reculturing instructions in full and select one route. Their starter amounts and durations differ.
- 02
Prepare milk and equipment
Start with pasteurized milk and clean jars. Prepare a controlled incubator and verify its temperature with a thermometer.
- 03
Inoculate and incubate
Add only the specified starter amount for the chosen route, mix as directed and maintain the published incubation temperature.
- 04
Measure the endpoint
Use a calibrated food pH meter to check that the batch reaches pH 4.6 or less within the source interval. Discard a batch that misses its endpoint or limit.
- 05
Refrigerate and label
Chill promptly in covered jars and label the batch date. Keep it as refrigerated dairy, not a pantry-stable preserve.
Mistakes to avoid
- Confusing the liquid left after churning butter with cultured buttermilk.
- Treating a sour smell as evidence of the required pH.
- Reculturing indefinitely without following the source directions.
If it isn’t working
The pH remains above 4.6 at the deadline
Discard the batch and verify starter viability and incubator control before a new attempt.
The incubation temperature drifts
Do not guess at an extension; use a controlled appliance and a fresh batch according to the source.
Then & now
Historical context
Traditional churn buttermilk and modern cultured buttermilk have different origins; this page concerns the latter.
The modern equivalent
Store-bought cultured buttermilk avoids an at-home incubation and measurement step.
Sources & review
Editorial draft — specialist review pending. Written 2026-09-24. Sources support the stated scope; this page has not been professionally certified.
- Utah State University Extension — Buttermilk ↗
Specific starter and reculturing methods and pH endpoint. Checked 2026-09-24.
- Utah State University Extension — Tips to Safely Ferment at Home ↗
Temperature, time and acidity checks for cultured dairy. Checked 2026-09-24.